Installing a cable pad on a cable tray is a crucial step in ensuring the safety, organization, and longevity of your cable systems. As a cable pad supplier, I've witnessed firsthand the importance of proper installation and the benefits it brings to various industries. In this blog post, I'll guide you through the process of installing a cable pad on a cable tray, from preparation to the final touches.
Why Use Cable Pads?
Before we dive into the installation process, let's briefly discuss why cable pads are essential. Cable pads offer several benefits, including:
- Protection: They protect cables from abrasion, vibration, and impact, reducing the risk of damage and extending their lifespan.
- Insulation: Cable pads provide electrical insulation, preventing short circuits and electrical hazards.
- Organization: They help organize cables, keeping them neatly arranged and preventing tangling.
- Noise Reduction: Cable pads dampen noise and vibration, creating a quieter and more comfortable working environment.
Types of Cable Pads
There are various types of cable pads available in the market, each designed for specific applications. Some common types include:
- Rubber Cable Pads: These pads are made of rubber materials and offer excellent flexibility, durability, and insulation properties. They are suitable for a wide range of applications, including industrial, commercial, and residential settings.
- Fiber Glass Cable Pads: Fiber glass cable pads are made of high-strength fiber glass materials and offer superior heat resistance and fire retardancy. They are commonly used in high-temperature environments, such as power plants and industrial furnaces.
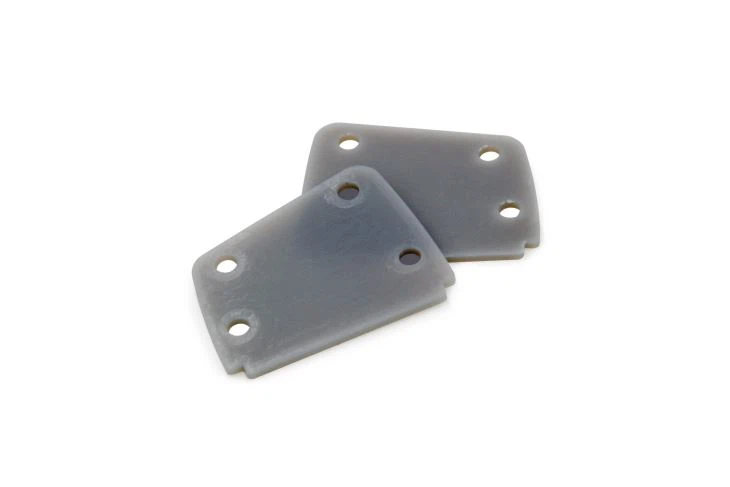
- Silicone Cable Pads: Silicone cable pads are made of silicone rubber materials and offer excellent flexibility, heat resistance, and weatherability. They are suitable for outdoor applications and harsh environments.
Preparation
Before you start installing the cable pad, it's important to prepare the necessary tools and materials. Here's a list of items you'll need:
- Cable Pads: Choose the appropriate type and size of cable pads based on your specific requirements. You can find a wide range of cable pads on our website, including Long-life Insulation Electric Audio Shock Seal Rubber Pad Mat and Long-life Socket Insulation Cable Motor Waterproof Rubber Pad.
- Cable Tray: Ensure that the cable tray is clean, dry, and free of any debris or sharp edges. If necessary, clean the cable tray using a mild detergent and water.
- Measuring Tape: Use a measuring tape to measure the length and width of the cable tray to determine the size of the cable pads needed.
- Scissors or Utility Knife: You'll need a pair of scissors or a utility knife to cut the cable pads to the appropriate size.
- Adhesive or Fasteners: Depending on the type of cable pad and cable tray, you may need adhesive or fasteners to secure the cable pads in place. Consult the manufacturer's instructions for the recommended adhesive or fasteners.
- Safety Equipment: Wear appropriate safety equipment, such as gloves and safety glasses, to protect yourself during the installation process.
Installation Steps
Once you have all the necessary tools and materials, you can start installing the cable pad on the cable tray. Here's a step-by-step guide:

- Measure and Cut the Cable Pads: Use a measuring tape to measure the length and width of the cable tray. Add a few extra inches to the measurements to ensure that the cable pads cover the entire surface of the cable tray. Use scissors or a utility knife to cut the cable pads to the appropriate size.
- Clean the Cable Tray: Before installing the cable pads, clean the cable tray using a mild detergent and water. Make sure the cable tray is dry before proceeding with the installation.
- Apply Adhesive or Fasteners: Depending on the type of cable pad and cable tray, you may need to apply adhesive or use fasteners to secure the cable pads in place. If using adhesive, apply a thin layer of adhesive to the back of the cable pad and press it firmly onto the cable tray. If using fasteners, drill holes in the cable tray and secure the cable pads using screws or bolts.
- Position the Cable Pads: Carefully position the cable pads on the cable tray, ensuring that they are aligned properly and cover the entire surface of the cable tray. Press the cable pads firmly onto the cable tray to ensure a secure bond.
- Trim the Excess Cable Pads: Use scissors or a utility knife to trim any excess cable pads that extend beyond the edges of the cable tray.
- Install the Cables: Once the cable pads are installed, you can start installing the cables on the cable tray. Make sure the cables are organized and arranged neatly on the cable pads to prevent tangling.
- Inspect the Installation: After installing the cables, inspect the installation to ensure that the cable pads are securely attached to the cable tray and that the cables are properly organized and arranged.
Tips and Tricks
Here are some tips and tricks to help you install the cable pad on the cable tray more effectively:
- Use a Template: If you need to install multiple cable pads on the cable tray, use a template to ensure that the cable pads are cut to the same size and shape.
- Work in Sections: If the cable tray is large, work in sections to make the installation process more manageable.
- Use a Roller: Use a roller to press the cable pads firmly onto the cable tray to ensure a secure bond.
- Allow the Adhesive to Dry: If using adhesive, allow the adhesive to dry completely before installing the cables to ensure a strong bond.
- Follow the Manufacturer's Instructions: Always follow the manufacturer's instructions for the cable pads and adhesive or fasteners to ensure proper installation and performance.
Conclusion
Installing a cable pad on a cable tray is a relatively simple process that can provide significant benefits to your cable systems. By following the steps outlined in this blog post and using the right tools and materials, you can ensure a safe, organized, and long-lasting cable installation. If you have any questions or need further assistance, please don't hesitate to contact us. We're here to help you find the right cable pads for your specific requirements and provide you with the support you need to install them correctly.
References
- "Cable Tray Installation Guide," National Electrical Manufacturers Association (NEMA).
- "Rubber Cable Pads: A Comprehensive Guide," Rubber Manufacturers Association (RMA).
- "Fiber Glass Cable Pads: Properties and Applications," Fiber Glass Manufacturers Association (FGMA).