As a reliable cable pad supplier, I understand the importance of proper cable management and the role that cable pads play in it. In this blog post, I'll guide you through the process of installing a cable pad on a cable management system, ensuring that your cables are organized, protected, and functioning optimally.
Why Use Cable Pads?
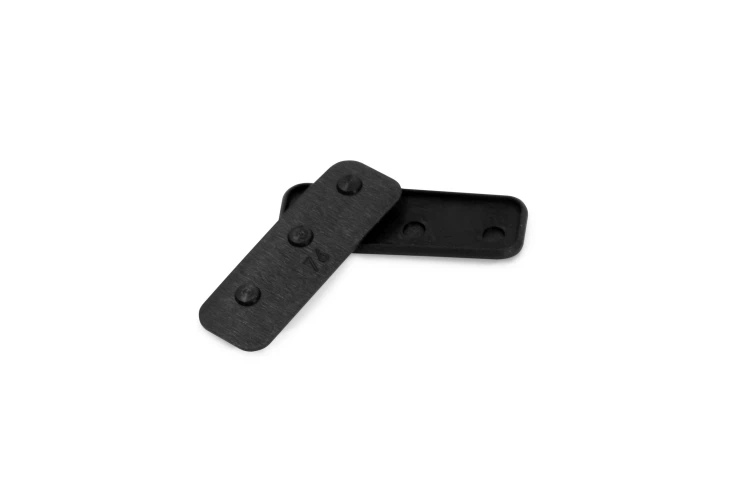
Before we dive into the installation process, let's briefly discuss why cable pads are essential. Cable pads, such as the Long-life Insulation Electric Audio Shock Seal Rubber Pad Mat and Long-life Socket Insulation Cable Motor Waterproof Rubber Pad, offer several benefits:
- Insulation: They provide electrical insulation, protecting cables from short - circuits and electrical interference.
- Shock Absorption: Cable pads can absorb shocks and vibrations, reducing the risk of damage to cables due to movement or external impacts.
- Waterproofing: Some cable pads are waterproof, safeguarding cables in wet or damp environments.
- Organization: They help keep cables neatly arranged, making it easier to identify and access specific cables when needed.
Tools and Materials Needed
To install a cable pad on a cable management system, you'll need the following tools and materials:
Tools
- Measuring tape: To measure the dimensions of the cable management system and the cable pad.
- Utility knife: For cutting the cable pad to the appropriate size if necessary.
- Screwdriver: Depending on the type of cable management system, you may need a screwdriver to secure the cable pad.
- Adhesive applicator: If you're using adhesive to attach the cable pad.
Materials
- Cable pad: Choose a cable pad that suits your specific needs, such as the ones mentioned above.
- Mounting hardware: This may include screws, bolts, or adhesive strips, depending on the installation method.
Step - by - Step Installation Guide
Step 1: Measure the Cable Management System
Start by measuring the area where you plan to install the cable pad. Use a measuring tape to determine the length, width, and any specific contours of the cable management system. Make sure to measure accurately to ensure a proper fit.
Step 2: Select the Right Cable Pad
Based on your measurements, select a cable pad that is the appropriate size. If the standard size doesn't fit, you can choose a larger pad and cut it to size using a utility knife. Our Long-life Insulation Electric Audio Shock Seal Rubber Pad Mat and Long-life Socket Insulation Cable Motor Waterproof Rubber Pad come in various sizes and can be easily customized.
Step 3: Prepare the Surface
Clean the surface of the cable management system where the cable pad will be installed. Remove any dust, dirt, or debris to ensure good adhesion or a secure fit. If the surface is uneven, you may need to sand it lightly to create a smooth base.
Step 4: Cut the Cable Pad (if necessary)
If the cable pad needs to be cut to size, use a sharp utility knife. Place the pad on a flat surface and carefully score the cutting line with the knife. Then, apply gentle pressure to cut through the pad. Make sure to cut along the straightest line possible for a clean and professional look.
Step 5: Install the Cable Pad
There are several ways to install a cable pad, and the method you choose depends on the type of cable management system and the cable pad itself.
Adhesive Installation
- Apply adhesive to the back of the cable pad using an adhesive applicator. Make sure to apply the adhesive evenly.
- Carefully place the cable pad on the prepared surface of the cable management system, aligning it with the edges.
- Press down firmly on the cable pad to ensure good adhesion. Use a roller or your hands to smooth out any air bubbles.
Screw - Mount Installation
- If your cable pad has pre - drilled holes or if you need to create them, align the pad with the mounting points on the cable management system.
- Insert the screws through the holes in the cable pad and into the mounting points. Use a screwdriver to tighten the screws, but be careful not to overtighten, as this could damage the cable pad or the cable management system.
Bolt - Mount Installation
- Similar to screw - mount installation, align the cable pad with the bolt holes on the cable management system.
- Place washers on the bolts and insert them through the holes in the cable pad.
- Secure the bolts with nuts and tighten them using a wrench.
Step 6: Secure the Edges
Once the cable pad is installed, check the edges to make sure they are secure. If there are any loose edges, you can use additional adhesive or small clips to hold them in place.
Step 7: Test the Installation
After installing the cable pad, gently tug on the cables to ensure that the pad is holding them securely. Check for any signs of movement or instability. If everything looks good, your cable pad is successfully installed.
Maintenance Tips
To ensure the long - term performance of your cable pad and cable management system, follow these maintenance tips:
- Regularly inspect the cable pad for any signs of wear, damage, or loose edges. Replace the pad if necessary.
- Keep the cable management system and the cable pad clean. Remove any dust, dirt, or debris that may accumulate over time.
- If the cable pad is exposed to harsh environmental conditions, such as extreme temperatures or moisture, consider additional protective measures.
Conclusion
Installing a cable pad on a cable management system is a straightforward process that can greatly improve the organization and protection of your cables. By following the steps outlined in this blog post, you can ensure a proper installation and enjoy the benefits of a well - managed cable system.
If you're interested in purchasing high - quality cable pads for your cable management needs, we'd love to hear from you. Contact us to discuss your requirements and start a procurement negotiation. We're committed to providing you with the best products and services.

References
- Electrical Wiring Handbook, 18th Edition
- Cable Management Best Practices Guide, Industry Standards Association